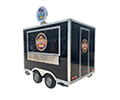
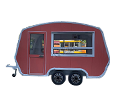
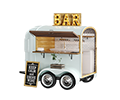
Airstream Food Trailer Interior Layout Ideas: Maximizing Space and Efficiency
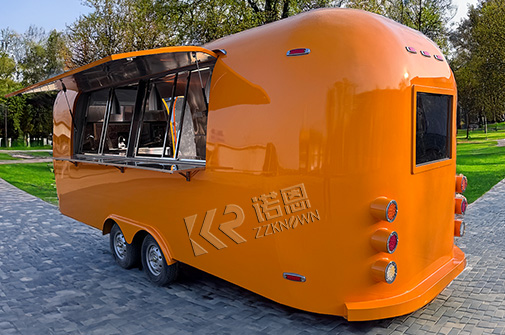
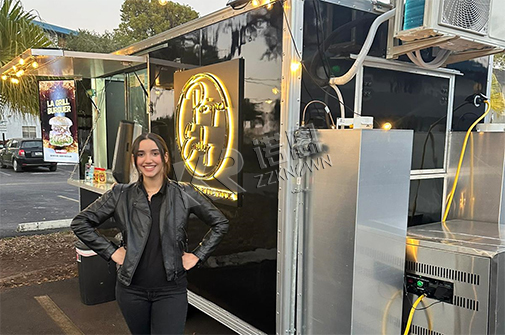
The iconic Airstream trailer, with its sleek aluminum shell and retro-modern aesthetic, has become a popular choice for mobile food businesses. However, transforming this compact space into a fully functional kitchen requires meticulous planning. Whether you're serving gourmet coffee, tacos, or artisanal ice cream, the right interior layout ensures smooth operations, compliance with health codes, and an unforgettable customer experience. Below, we explore innovative design strategies tailored to Airstream food trailers, along with actionable tips for optimizing workflow, storage, and branding.
In a food trailer, every square inch counts. A well-designed workflow minimizes staff movement and reduces service delays.
Design: Arrange equipment in a single line from the service window to the rear.
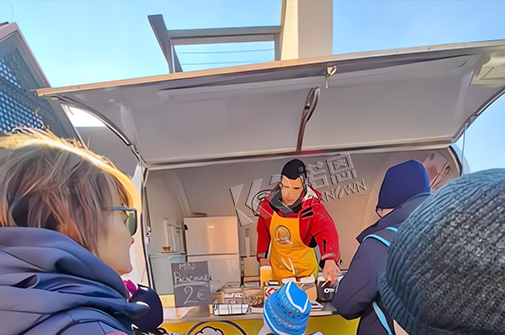
Front: Service counter with POS system and pickup area.
Middle: Cooking station (griddle, fryer) and prep counter.
Rear: Refrigeration, storage, and utilities (water tanks, generator).
Best For: Menus with limited items (e.g., coffee, hot dogs).
Pros: Simple workflow, easy staff training.
Cons: Limited space for multitasking.
Design: Create a U-shaped workstation around the service window.
Left Side: Cold storage and prep sink.
Center: Cooking equipment (oven, fryer).
Right Side: Assembly station and serving counter.
Best For: Complex menus (e.g., sandwiches, bowls).
Pros: Efficient movement between stations, better ventilation control.
Cons: Requires at least 18' of interior space.
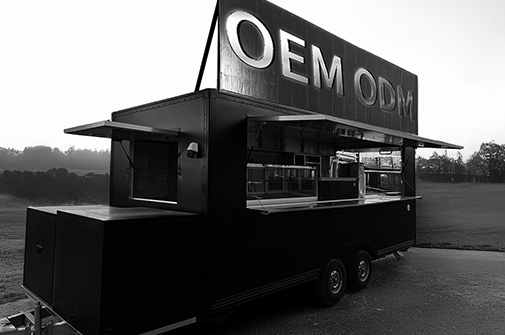
Design: Divide the trailer into zones:
Front Zone: Customer-facing area with ordering counter and branded displays.
Mid Zone: Cooking and prep (grill, prep tables).
Rear Zone: Storage, utilities, and staff break area (if space allows).
Best For: High-volume operations or trailers with seating (e.g., wine bars).
Pros: Clear separation of customer/worker areas, enhanced branding.
Cons: Higher build cost.
Airstreams typically range from 16' to 30', so selecting compact, multi-functional equipment is critical.
| Equipment | Space-Smart Alternatives |
|---|---|
| Cooking | Combi-ovens (steam + convection), induction cooktops |
| Refrigeration | Undercounter fridge/freezer combos |
| Storage | Magnetic knife strips, ceiling-hung utensil racks |
| Sink | Three-compartment sinks with fold-down covers |
Pro Tip: Use vertical space for storage. Install shelves above windows or custom racks for ingredients and packaging.
Your layout should reflect your brand while keeping lines moving quickly.
Width: 24–36" to accommodate hands-free payment terminals and product displays.
Height: 42” counter height for accessibility (ADA-compliant).
Add-Ons:
Retractable awning for shade/rain protection.
Built-in menu board with LED lighting.
Condiment station on the exterior (saves interior space).
Materials: Use polished stainless steel, reclaimed wood, or retro laminate to align with Airstream's aesthetic.
Lighting: RGB LED strips under counters or around windows for ambiance.
Seating (Optional): Fold-down benches or bar stools mounted to the exterior (check local permit rules).
Health codes and fire regulations vary, but these universal practices apply:
Ventilation: Install a hood system with a minimum of 500 CFM airflow for grills/fryers.
Fire Safety: Keep a 12" clearance between cooking equipment and walls; use fire-resistant insulation.
Utilities:
Place water tanks and electrical panels near the trailer's axle for weight balance.
Use marine-grade plumbing to prevent leaks.
Layout: Linear design with a front espresso machine, mid-zone pastry display, and rear storage.
Key Feature: Fold-out side window for walk-up orders, reducing line congestion.
Result: Serves 120+ customers/hour at farmers' markets.
Layout: U-shaped workstation with a tortilla press station, dual fryers, and salsa bar.
Key Feature: Roof-mounted propane tanks to free up interior space.
Result: 30% faster order fulfillment during peak hours.
DIY Upgrades: Use peel-and-stick tiles for backsplashes or removable decals for seasonal branding.
Pre-Owned Equipment: Source lightly used appliances from restaurant auctions.
Modular Furniture: Magnetic spice holders or foldable prep tables add flexibility.
Final Thoughts
Designing an Airstream food trailer is a balance of form and function. By prioritizing workflow, embracing vertical storage, and infusing your brand's personality, you can create a mobile kitchen that's as efficient as it is Instagram-worthy. Remember: Test your layout with a mock service before finalizing—what works on paper might need tweaking in practice.
Whether you're a startup or expanding your fleet, the Airstream's timeless appeal paired with smart design will keep customers lining up wherever you park.